公式でも、Xamarin から .NET へのアップグレードが案内されるようになりました。いよいよ Xamarin が終焉が近くなってきました。
learn.microsoft.com
Xamarin.Forms から MAUI への移行は .NET Upgrade Assistant が利用できます。
learn.microsoft.com
Xamarin.Android、Xamarin.iOS、Xamarin.Mac といった Xamarin プロジェクトは現状、「手動」でのアップグレードになってしまいます。
learn.microsoft.com
.NET MAUI の主なプロジェクトテンプレート(Xamarin との比較)
Xamarin でサポートされていたプロジェクトは .NET MAUI でサポートされているのでしょうか。
というわけで.NET MAUI の主なプロジェクトテンプレートを Xamarin と比較してみました。
下記の表の「短い名前」は、 .NET CLI で
dotnet new maui
のように「短い名前」をテンプレート名として使うことでプロジェクトを作成できます。
learn.microsoft.com
| Xamarin | .NET | ||
|---|---|---|---|
| テンプレート名 | テンプレート名 | 短い名前 (dotnet new <TEMPLATE>) |
|
| iOSアプリ | iOSアプリ(Xamarin) | iOS アプリケーション(プレビュー) | ios |
| MacCatalyst アプリケーション(プレビュー) | maccatalyst | ||
| watchOSアプリ | watchOSアプリ(Xamarin) | .NET 6 未サポート。.NET 7 での追加サポート予定もなし https://twitter.com/davidortinau/status/1519303524726849536 |
|
| Androidアプリ | Androidアプリ(Xamarin) | Android Application | android |
| Android Wear アプリ | Android Wear アプリ(Xamarin) | Android Wear Application | androidwear |
| クロスプラットフォームモバイルアプリ | モバイルアプリ(Xamarin.Forms) | .NET MAUI アプリ | maui |
| macOSアプリ | cocoaアプリ(Xamarin) | macOS アプリケーション(プレビュー) | macOS |
| MacCatalyst アプリケーション(プレビュー) | maccatalyst | ||
.NET では watchOS アプリは未サポートです。今のところ .NET 7 での追加サポート予定もありません。
(たいして使われていない割に、サポートするには手間がかかるため、予定がないとのことです。)
以下、.NET MAUI のプロダクトマネージャーのツイートです。
we don’t have watchOS support in .NET 6 and no plans to add it in .NET 7. The original .NET 6 issue tracking Apple SDK plans stated this and since then it’s not on any roadmap. We will consider it in the future. High cost, low usage.
— David Ortinau (@davidortinau) 2022年4月27日
Apple M1 Mac 上の Visual Studio for Mac で Xamarinはどれくらい使えるか調べました。(2020/12/13時点)
はじめに
こんにちは、@hiro128_777です。
この記事は「Xamarin Advent Calendar 2020」の13日目になります。
Apple M1 Mac が発売されて1ヶ月になりますね。というわけで、macOS Big Sur (Apple M1) 上の、Visual Studio for Mac で Xamarin がどれくらい使えるか再度確認してみました。
ちなみに、11/23 時点での状況こちらとなっております。
hiro128.hatenablog.jp
バージョン
- macOS Big Sur 11.0.1
- Visual Studio for Mac Version 8.8.3 (build 16)
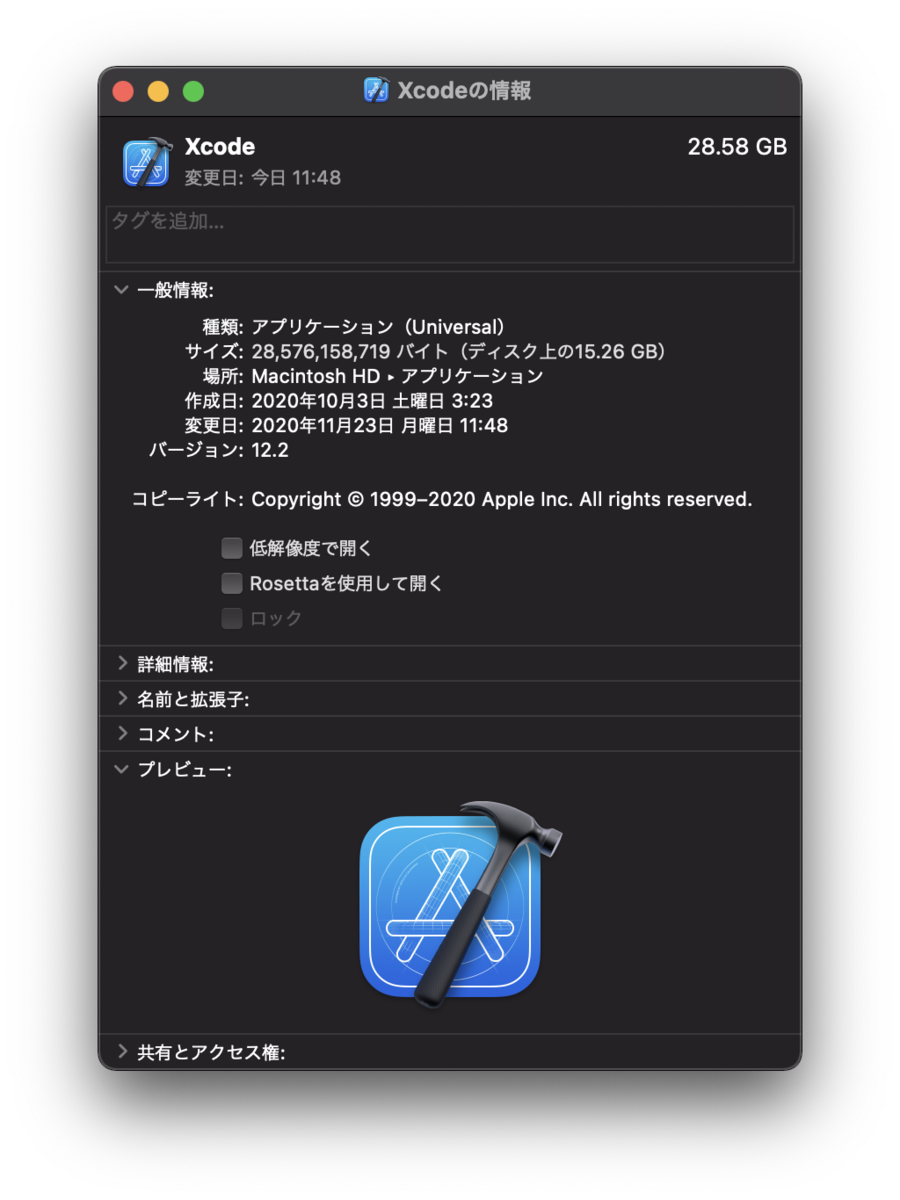
- Xcode 12.2
Xcode は Universal App です。
Visual Studio はまだ Intel App で Rosetta2 を介しての動作となります。

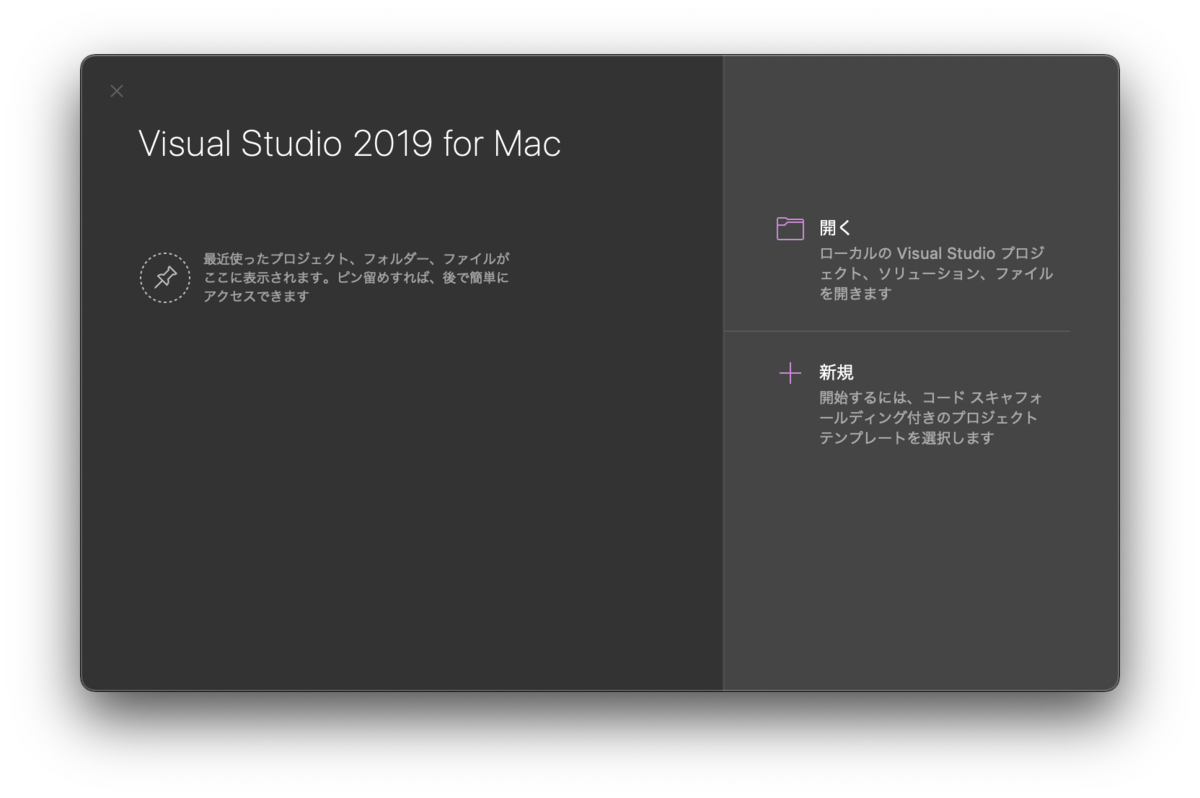
Visual Studio for Mac のインストールと起動
インストールと起動は全く問題ありません。当該の Mac 上で、 なお、Rosetta 2 を利用するアプリの起動が初めての場合は、Rosetta 2 のインストールが走ります。
アプリごとの動作のまとめ
| SDK 認識・コード編集 | エミュレーター デバッグ実行 |
実機 デバッグ実行 |
Xamarin Profiler エミュレーター |
Xamarin Profiler 実機 |
備考 | |
|---|---|---|---|---|---|---|
| iOS | ○ OK | ○ OK | ○ OK | ○ OK | ○ OK | |
| Android | ○ OK | △ 一応動作 | ○ OK | ○ OK | ○ OK | エミュレーターはプレビュー版で動作 |
| macOS | ○ OK | --------------- | ○ OK | --------------- | ○ OK | Intel App としてビルドされ、 Universal App としてビルドできない |
結論から言うと、発売直後の状況より改善があります。
以下詳細となります。
iOS アプリ
SDK 認識・コード編集
問題ありません。
ビルド・デバッグ実行(シミュレータ)
問題ありません。
ビルド・デバッグ実行(実機)
問題ありません。
11/23 時点では iOS で実機にデプロイ時にプロビジョニングプロファイルの設定が不完全な時、1度だけ Visual Studio for Mac がクラッシュする現象が発生しましたが、それが起こらなくなりました。ですが、たまたま起こらなかったのか改善されたのかは不明です。
Xamarin Profiler(シミュレータ)
問題ありません。
Xamarin Profiler(実機)
問題ありません。
Android アプリ
SDK 認識・コード編集
問題ありません。
ビルド・デバッグ実行(エミュレータ)
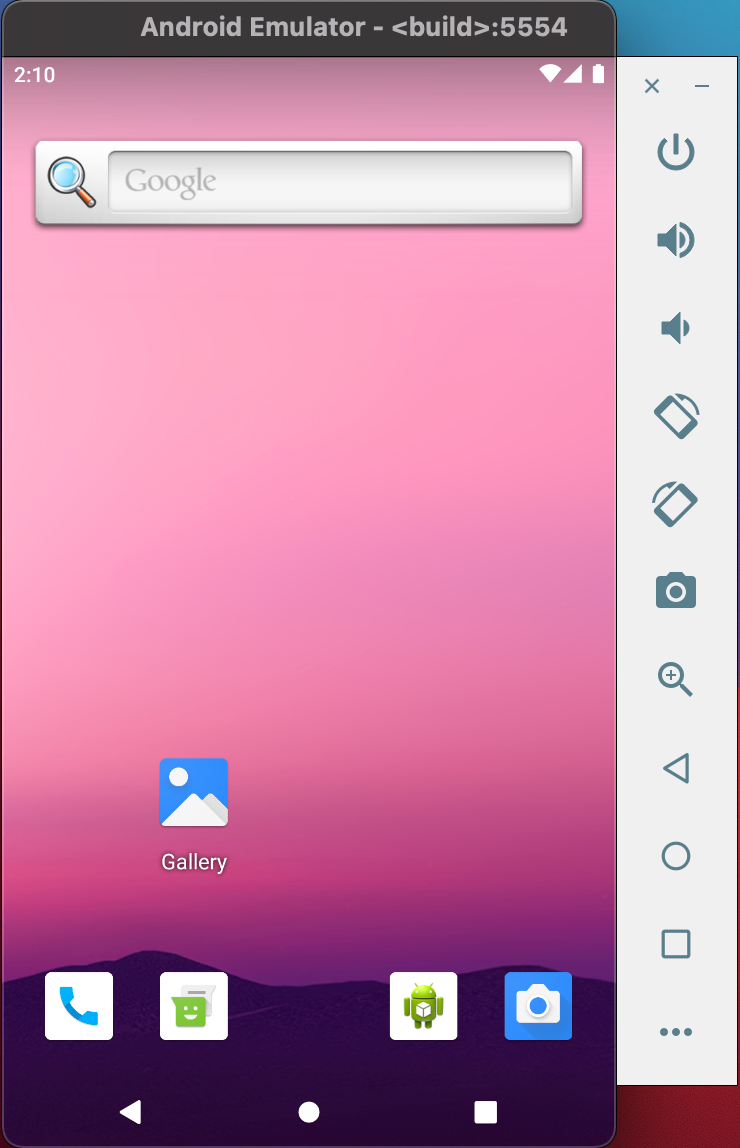
11/23 時点では、エミュレータが起動できず実行できませんでしたが、プレビューですが、Google からApple M1 で動作するエミュレーターがリリースされており、そちらででエミュレーター上のデバッグが可能となりました。
エミュレータは以下からダウンロードしてインストールできます。
github.com
起動すると、Visual Studio for Mac で認識します。

なお、プロジェクトオプションで「迅速なアセンブリの配置」を外さないと、デプロイでエラーが出ました。

プレビュー版で試したら発生しませんでしたので、以下の issue のようです。
github.com
ビルド・デバッグ実行(実機)
問題ありません。
Xamarin Profiler(シミュレータ)
問題ありません。
Xamarin Profiler(実機)
問題ありません。
mac アプリ
SDK 認識・コード編集
問題ありません。
ビルド・デバッグ実行(実機)
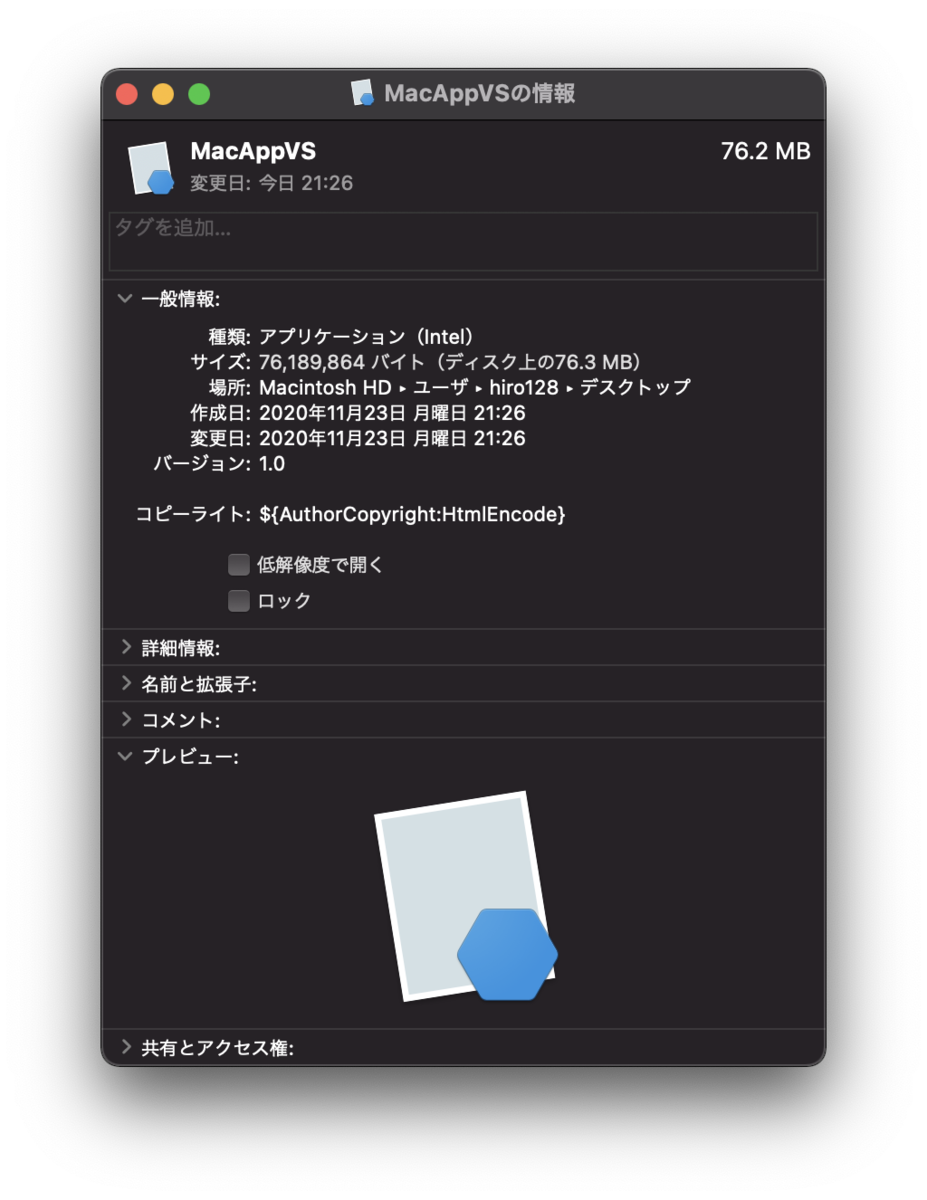
こちらは状況が変わらず、ビルド、デバッグ実行できますが、Universal App としてビルドさせる設定が見つからず、結果として、Intel App としてビルドされ、Universal App としてはビルドできません。
Xamarin Profiler(実機)
問題ありません。
まとめ
というわけで、再度の検証では、Apple M1 Mac 発売直後より状況が改善され、動くには動くという状況にはなりました。少なくとも実機での動作は問題なくなっていますので、実機デバッグのみで開発するのであれば問題ない感じです。エミュレーターも使う場合には、もう少し待てば、Android でも問題なく使えるようになりそうです。
なお、速度的には全く遅いとは感じませんでした。あとは、Visual Studio for Mac が M1 ネイティブで動くようになると嬉しいのですが、情報が全く無くどこまで開発が進んでいるのかもわかりません。Xamarin 後継の .NET MAUI は Visual Studio Code をサポートするとアナウンスされていますので、MAUI リリースまで Rosetta 2 で引っ張って、Visual Studio for Mac は廃止で Visual Studio Code に移行というような事態にならないかがとても心配です。
早く Visual Studio for Mac を M1 ネイティブ対応にしていただけると助かります。
今回は以上です。
macOS Big Sur (Apple M1) 上で、Visual Studio for Mac を軽く試してみました。(2020/11/23速報版)
はじめに
こんにちは、@hiro128_777です。
ようやく、Apple M1 Mac が自宅に届きました。というわけで、早速 Apple M1 Mac で Visual Studio for Mac を一通り軽く試してみました。なお、まだ詳しい検証はできておりませんので、引き続き調査したいと思います。
Intel Mac の Big Sur 上の動作状況は以下をご覧ください。
hiro128.hatenablog.jp
バージョン
- macOS Big Sur 11.0.1
- Visual Studio for Mac Version 8.8.1 (build 37)
- Xcode 12.2
Xcode は Universal App です。
Visual Studio は Intel App で Rosetta2 を介しての動作となります。

Visual Studio for Mac のインストールと起動
インストールと起動は全く問題ありません。当該の Mac 上で、 なお、Rosetta 2 を利用するアプリの起動が初めての場合は、Rosetta 2 のインストールが走ります。
なお、Visual Studio for Mac Version 8.8 のリリースノートは以下をご参照ください。
docs.microsoft.com
アプリごとの動作のまとめ
| SDK 認識・コード編集 | エミュレータ デバッグ実行 |
実機 デバッグ実行 |
備考 | |
|---|---|---|---|---|
| ASP.NET(.NET 5) | ○ OK | --------------- | × NG | Safari (Universal) 、 Chrome (Universal) ともに同じエラー |
| iOS | ○ OK | ○ OK | ○ OK(若干不安定) | 実機でプロビジョニングプロファイルの設定が不完全な時、 1度 VS がクラッシュ |
| Android | ○ OK | × NG | × NG | エミュレータが起動せず、実機も認識しない |
| macOS | ○ OK | --------------- | ○ OK | Intel App としてビルドされ、Universal App としてビルドできない |
ASP.NET(.NET 5)
自分の環境では、Intel Mac 同様、ASP.NET で初回のみ開発証明書に関するダイアログが出ましたが、以下のように、画面表示の通り許可すれば、次回以降は聞かれなくなります。
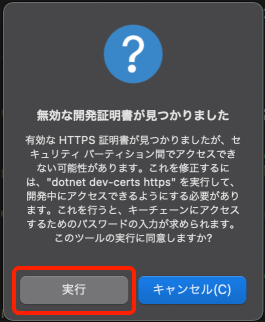
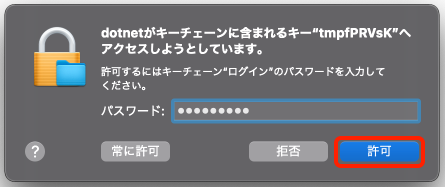
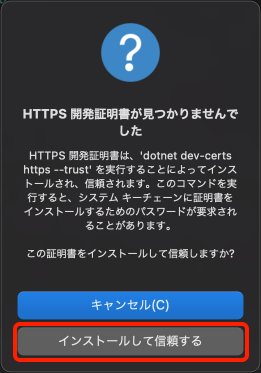

上記は、微妙に発生条件が違いますが、以下の issue が相当しそうです。
docs.microsoft.com
ただし、対処後もデバッグ実行に失敗します。
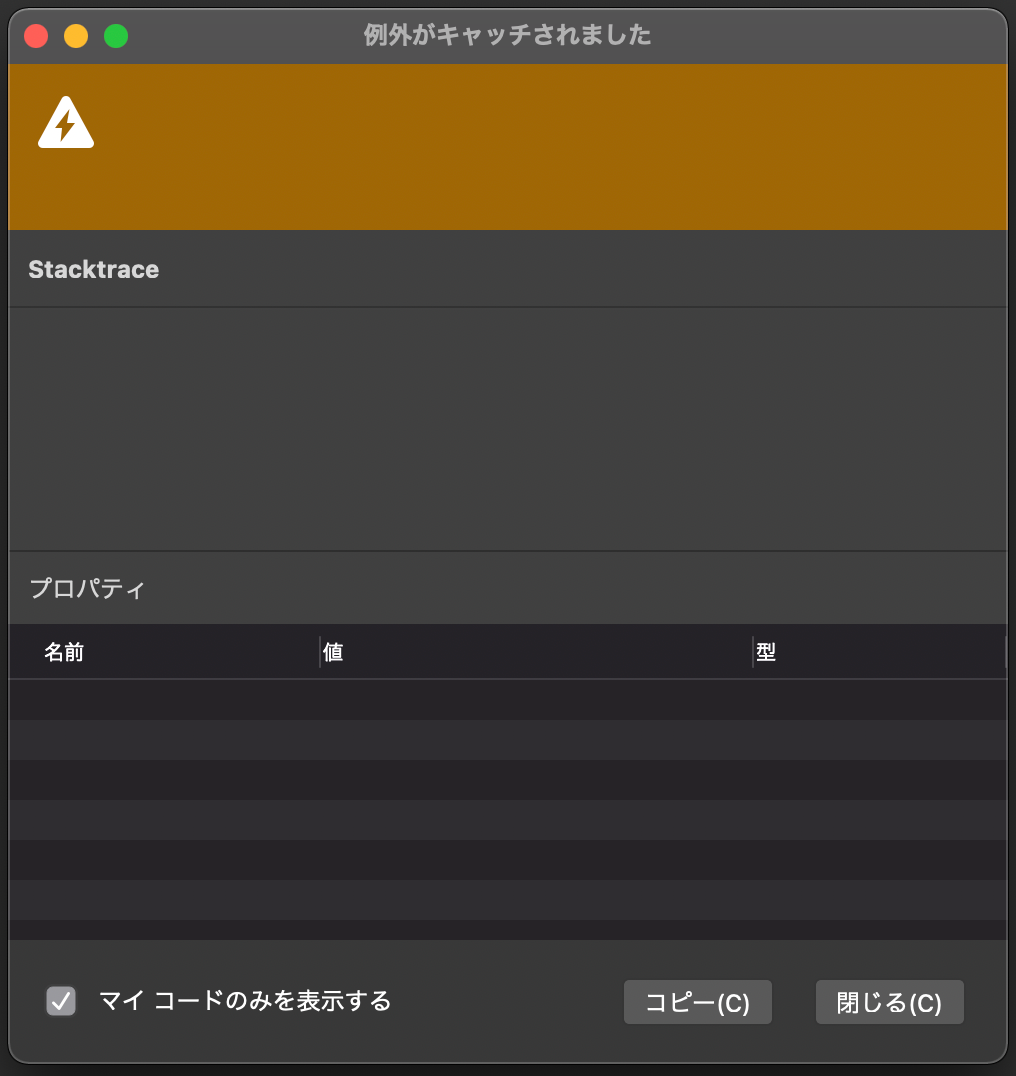
下記のようなエラーメッセージが出ます。
-------------------------------------------------------------------
You may only use the Microsoft .NET Core Debugger (vsdbg) with
Visual Studio Code, Visual Studio or Visual Studio for Mac software
to help you develop and test your applications.
-------------------------------------------------------------------
Loaded '/usr/local/share/dotnet/shared/Microsoft.NETCore.App/5.0.0/System.Private.CoreLib.dll'. Skipped loading symbols. Module is optimized and the debugger option 'Just My Code' is enabled.
Stack overflow.
   at System.Collections.HashHelpers.GetPrime(Int32)
   at System.Collections.Generic.Dictionary`2[[System.__Canon, System.Private.CoreLib, Version=5.0.0.0, Culture=neutral, PublicKeyToken=7cec85d7bea7798e],[System.__Canon, System.Private.CoreLib, Version=5.0.0.0, Culture=neutral, PublicKeyToken=7cec85d7bea7798e]].Initialize(Int32)
   at System.Collections.Generic.Dictionary`2[[System.__Canon, System.Private.CoreLib, Version=5.0.0.0, Culture=neutral, PublicKeyToken=7cec85d7bea7798e],[System.__Canon, System.Private.CoreLib, Version=5.0.0.0, Culture=neutral, PublicKeyToken=7cec85d7bea7798e]]..ctor(Int32, System.Collections.Generic.IEqualityComparer`1<System.__Canon>)
   at System.AppContext.Setup(Char**, Char**, Int32)
iOS アプリ
SDK 認識・コード編集
問題ありません。
ビルド・デバッグ実行(シミュレータ)
問題ありません。
ビルド・デバッグ実行(実機)
問題ありません。
プロビジョニングプロファイルの設定が不完全な時、1度だけ Visual Studio がクラッシュしました。その後は、プロビジョニングプロファイルの設定が不完全であることを示すエラーが表示されました。
Android アプリ
SDK 認識・コード編集
問題ありません。
ビルド・デバッグ実行(エミュレータ)
エミュレータが起動できず、実行できません。
ビルド・デバッグ実行(実機)
実機を認識しませんでした。ただし、Intel Mac では、実機をきちんと認識しますので、Visual Studio for Mac 起因の問題ではない可能性もあります。
mac アプリ
SDK 認識・コード編集
問題ありません。
ビルド・デバッグ実行(実機)
ビルド、デバッグ実行できますが、Universal App としてビルドさせる設定が見つからず、結果として、Intel App としてビルドされ、Universal App としてはビルドできません。
まとめ
というわけで、軽く触った感じでは、Apple M1 Mac ではまだ問題が結構ありそうです。エラーの原因も詳しく調べられていないので、もう少し色々試してみたいと思います。
なお、速度的には特に遅いとは感じませんでした。Visual Studio for Mac が M1 ネイティブで動くようになるのが楽しみです。
また、M1 Mac 発売から1ヶ月後の 2020/12/13 時点での、調査結果は以下をご覧ください。
hiro128.hatenablog.jp
今回は以上です。
macOS Big Sur (Intel) 上で、Visual Studio for Mac を軽く試してみました。
はじめに
こんにちは、@hiro128_777です。
待ちに待った macOS Big Sur がリリースされました。というわけで、早速アップデートし Intel Mac 上で Visual Studio for Mac を一通り軽く試してみました。

なお、Apple M1 チップ Mac 上の検証結果は以下をご覧ください。
hiro128.hatenablog.jp
バージョン
- macOS Big Sur 11.0.1
- Visual Studio for Mac Version 8.8 (build 2913)
- Xcode 12.2
Visual Studio for Mac 起動
問題ありません。

なお、Visual Studio for Mac Version 8.8 のリリースノートは以下をご参照ください。
docs.microsoft.com
iOS アプリ
SDK 認識・コード編集
問題ありません。

ビルド・デバッグ実行(シミュレータ)
問題ありません。

Android アプリ
SDK 認識・コード編集
問題ありません。

ビルド・デバッグ実行(シミュレータ)
問題ありません。

.NET 5 ASP.NET アプリ
SDK 認識・コード編集
問題ありません。

ビルド・デバッグ実行
自分の環境では、ASP.NET デバッグ実行時、開発証明書に関するダイアログが出ましたが、以下のように、画面表示の通り許可すれば、問題ありませんでした。
上記は、微妙に発生条件が違いますが、以下の issue が相当しそうです。
docs.microsoft.com
なお、対処後は無事デバッグ実行もできました。

まとめ
というわけで、軽く触った感じでは、Intel Mac では問題なさそうです。
Apple M1 Mac での挙動は、実機が届き次第確認してみます。
今回は以上です。